Tuesday, December 17, 2013

UFO update

We moved nearly all of our stuff to the new house last weekend.  So happy to be in the new space!  We originally selected our rental house for the price and location - NOT the condition, so there are a lot of upgrades and amenities that we loving about the new house.  My fabric hasn't made the move yet - I know that is usually the first thing people move, but the new house still has some lingering smell from floor refinishing, so I'm waiting for that to clear up some more before I bring my fabric over.

I do have everything packed up, though.  Going through my UFO drawers reminded me that it's probably about time for an update.  Errr.... make that past time!  When I went to pull in the previous list, I discovered that I made it in May of last year.  At the time, I had 8 WIPs.  I finished four of them but added four more in the same period, so I'm still at 8.  The projects are definitely getting more current, though, which is a good thing.


Linen Stripes Quilt  Finished in August 2012!


Sewing Machine Cover Finished it, decided I didn't need a sewing machine cover, and then turned it into a tote bag in mid-2013.


Bed Quilt Finished in November 2012!
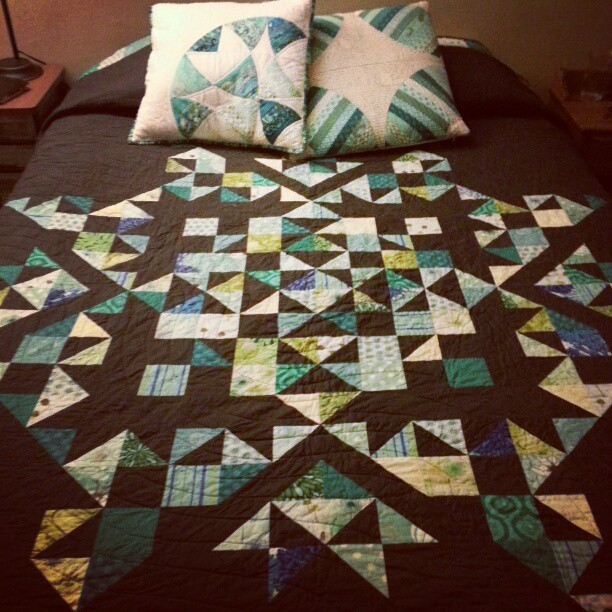
This quilt is double-sided and so large that I have never gotten around to taking proper pictures and blogging it.

Embroidered Kitties Quilt  Finished in August 2012!
My niece is using this quilt on her bed!

1.  Wedding Quilt
I have decided that I will probably use this as one side of a double-sided quilt.

2.  Queen of Embarrassing Toasts' Quilt (Modern Quilting Bee)  - This quilt is basted and ready for quilting!
My sister has spoken for this quilt.

3.  Giraffe Quilt (Tethered Threads 2 Bee)
This is one of those times when cutting a precious fabric turned out to be the best choice.  This quilt is definitely staying with me.  The block/fabric combination is straight copied from Film in the Fridge.  Sometimes you see something and you just gotta have it. 

4.  Secret project
What?  It's a secret.  No pictures!


5 (NEW).  Round Boo Bee
My round robin quilt is still going!  We are filling in the four corners to bring this out to square.


6 (NEW).  Other secret project
What?  It's a secret.  No pictures!


7 (NEW). BAM-BOM Quilt (more like an ongoing project than a UFO)
Photo from the design wall - I need to sew these blocks together and then I have four borders planned..

8 (NEW).  BAM Round Robin (more like an ongoing project than a UFO)
I wish I had a more recent photo!  This quilt is going to be epic.
My new (as of this year) approach is to slow down on starting new projects to keep from getting bogged down with new starts, and meanwhile chip away at the older projects in between.  With that in mind, I'm setting my new year's resolution early:  Whether I start new projects or not, I want to get my UFO&WIPs list down below five by the end of 2014. 

Thursday, December 5, 2013

Excited, exhausted, and confused

I have been in such a state lately.  We spent the last two months shopping for and then buying a house (I know, it was so fast!!)  I'm still in shock about it, and at the same time so excited that sometimes I feel a little ill.  In addition to the happy transition from renting to owning, I'm thrilled that my sewing area will be moving from the dining room table to my very own sewing room.


It's not much to look at yet, but hopefully it will be!
 
Because of some work that needs to be done at the new place, we won't be moving our furniture until mid-December.  In the meantime, I have plunged enthusiastically into getting ready to move.  I have to say, the logic element doesn't factor very strongly into the tasks that I've been completing in "preparation" for moving.  For example, I had some thread spools sitting on top of my fabric drawers, so I decided to put them away.  There wasn't room in the thread bin, so I ended up on the floor surrounded by a hundred spools of thread, winding loose thread and picking out ones that could go in the trash bin.  Oh wait, actually that does make sense.  Clearly, organizing my thread = critical pre-move preparatory step.

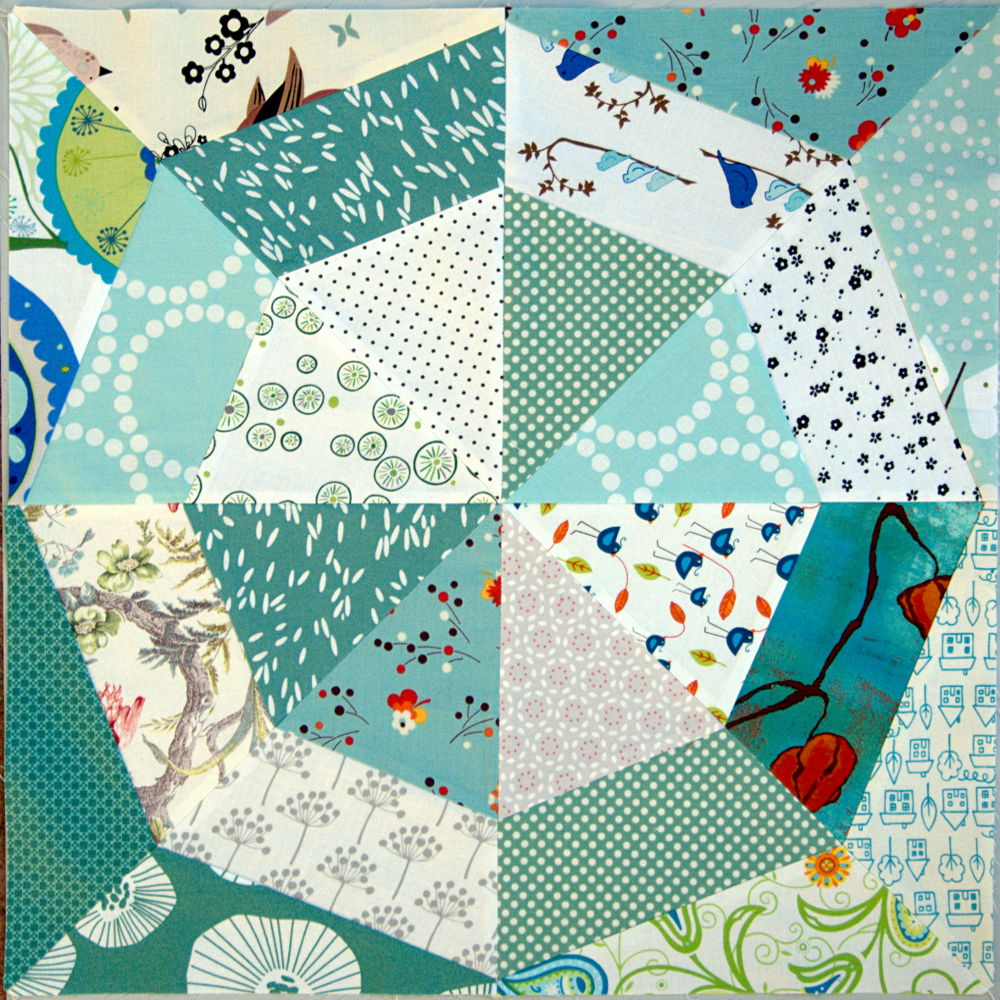
I said in the title that I was confused, but actually has to do with the blog, not the move or the new house.  I thought that I had already posted something from a few months ago, but now I don't see it! Since that apparently happened only in my mind, here is what was passed to me for Kelly's round robin (with my local MQG):
And here's where I ended up:


I planned the outline for my additions on graph paper, with the hope of echoing and emphasizing the partial star shape.  Once I started sewing, I added in a little bit of improvisation with details like the geese and the nine patches.  I just love this quilt, and I'm totally jealous that Kelly gets to keep it.  I can't steal it 'cause Kelly would just track me down... but maybe I'll duplicate it when some more of my UFOs are cleared out. 

Sunday, August 18, 2013

Rhonda's Round Robin, UFOs, and my neck

It has been pretty slow on the blog lately - and for good (bad?) reason.

Apparently the cumulative affects of years of bad posture and too many looking-down-at-things activities (oh hai sewing) made some discs in my neck go all bulgy and smush into my spinal cord.  WHICH, as it turns out, makes you hurt all kinds of places other than your neck.

The good news is that they finally got from me saying "under my shoulder blade and also near my elbow hurt really bad and I can't lay down without wanting to cry so I don't get any sleep at all" to the doctor saying "lay on this thing for a few minutes a day and cut back on sewing and looking through microscopes." 

Nowadays the only pain I get is in my actual neck, when I've done too many looky-downy things.  I am not able to spend a lot of time sewing yet, but I have been able to get some in.  First on my list is for my guild round robin.  Rhonda asked for people to add pieces to her quilt in a log-cabin fashion, i.e. add to only one side, going in a spiral pattern from one person to the next. 

This is the piece that I received, with Rhonda's start on the upper right, Kelly's addition below that, and Jen's piece on the left.


I took inspiration from the fabric down the left side and decided to make some diamond & chevron shapes (on the dark purple background).  After adding that, I felt that my part stood out too boldly, so I put on an additional section that incorporated the stripes, chevrons, and multiple backgrounds that other people had used.  Then I did raw edge applique and added flowers to blend the two sections a little and tie in with Jen's contribution.


I know I've said it already, but it bears repeating - I love the challenge of this round robin!  It is certainly a welcome change of pace... I have been working for nearly 2 years now on clearing out my UFOs.  Since January 2012 when I declared my goal of living a UFO-free life, I have finished 7 of the 10 quilts that were in progress at the time, and 9 smaller projects that were languishing in my sewing room.  Since the Great Declaration, I started an additional 12 quilts and finished 7 of them, leaving me with 5 new projects in progress.  Even though my number of quilt UFOs has only gone down by 2, it's a big success for me considering that before 2012 I generated new UFOs at a rate of about 3 per year.  Also, my UFO's are getting "newer", which means that they are a better match to my current taste. 

Still, these round robin quilts are a welcome break and a chance to get inspired & creative.  Jen passes to me in this round robin, and her great sense for simple & effective design puts the pressure on!  I just saw what she did for Marci's piece and my mind is already rolling thinking of what I will add.

Thursday, August 8, 2013

Tutorial - More Birds in the Air

This month I am hosting the Block of the Month tutorial again for Bay Area Modern.  You can see the rest of the blocks on the BAM blog.


This block is a variation on the traditional Birds in the Air quilt block, translated to a 16-patch rather than 9.  This tutorial makes two blocks at a time.  One option for a 12" finished block is to make two sets of the 6" block and then arrange them in a four-patch.


The final look of the block will be like this if you chose to cut your 4 rectangles from background fabric:

Or like this if you chose to cut them from print fabric:

Starch all your fabric pieces before you begin because there is a lot of bias sewing in this block.  I use Best Press and press all seams open.
Sew and trim up the half square triangles using your preferred method.  If you are going for a scrappy look, you may want to sew in pairs.  If you are sticking with just 2 fabrics for the block, you can use this method to make 8 HSTs at once.

 All your pieces should look like this:


Lay out the pieces as shown below, then sew together in rows:


Sew the rows together (it's supposed to be a rectangle right now... don't worry!) Turn the block over to mark the back.  Draw a line on either side of the center diagonal, just touching the points of your print triangles:


Lay the pieced rectangle centered over the large rectangle (right sides together) and sew down each of the drawn lines.  Cut the in half between the sewn lines.


Press the seams, and trim off the extra background fabric to get a perfect 6.5" or 12.5".

Done!

Monday, June 17, 2013

Tutorial - Cropped pinwheel block

 Today I am hosting the Block of the Month tutorial for Bay Area Modern.  You can see the rest of the blocks on the BAM blog.


This block is an easy twist on the traditional pinwheel block (also called turnstile).  The asymmetrical cropped point is super simple to implement, making this a quick block to sew.


Starch your fabric pieces before you begin because there is a lot of bias sewing in this block.  I use Best Press and press all seams open.

Stack the two middle size background fabrics together and cut once on the diagonal.  Cut the other three squares in half twice on the diagonal to get four triangles.  All your pieces should look like this:


Fold the smallest triangles in half and use your fingers to make a crease mark.  If you are using a print fabric for the background, fold it with the right sides together.


Place the creased triangles on top of the foreground triangles, aligned at the corner.  With the 90° corner toward you, the triangles should be aligned on the right (as shown). 


Sew the triangles together just to the right of the crease line.  If you are making a 12" block, you may wish to sew a second line 1/2" to the left.  That second line sews your trimmings together into half of a 3" quarter square triangle.  The 6" block trimmings are kind of small to bother sewing up.


Trim off the excess at the corners with a 1/4" allowance and press the seam.

Sew a medium triangle of background fabric to each triangle, along the short pieced edge.  Press.


Sew a larger triangle of background fabric to each piece, along the long edge.  If your triangles are not exactly the same size, that's fine.  Make sure that they line up at the inside point and everything will be good.  Press.


Sew your squares together in twos.  Trim the inside corner seam allowance before pressing the seam open to avoid bulk at the center point.  I aim for an approximate 60° angle. 


Sew the two block halves together.  This is the part where I use pins.  Double pin the center for the best possible point.  Go slow along the center section and make sure your needle goes down just the smiiiidgiest smidge to the right of where the points meet.  Press.


You should have a bit of extra fabric to trim off to get a perfect 6.5" or 12.5".


Wednesday, June 12, 2013

'tites and 'mites

A few months ago, I had a run where my sewing mojo was seriously messed up... it seemed like every time I worked on something I made mistakes left and right.  One of those mistakes was seriously over cutting triangles for this quilt.  I used a 2" strip off of each triangle to sew a cute scrappy binding, but that still left me a lot of extra, smaller triangles to deal with.

I played around with them for a while and came up with the idea for this quilt:


I'm calling it 'tites and 'mites because it reminds me of stalactites and stalagmites. The back... surprise, surprise, it's the Ikea duvet that just keeps on giving (plus a hanging sleeve for the SCVQA show last month - that is off now):


There was some leftover scrappy binding goodness from the other quilt, and I strategically placed it to give a bit more balance to the quilt.  This quilt is going to my newborn nephew - he's the first boy born in my family after a run of 10 girls in a row. 

Friday, June 7, 2013

Spinning stars QAL Finished

Last September, my friend Adrianne linked this Spinning Stars quiltalong on her Facebook page.  I definitely didn't need another project (I'm trying to clear up UFOs) but somehow I found myself replying with "I'm in if you are!"  Well, she was, so off we went. 

I knew that I wanted to emphasize something other than the ring in each block, so I played around with paper and highlighter until I came up with this for color placement:


Originally I did just teal and plum blocks (with white/cream background prints), but I decided that the quilt needed a little more energy, so I added in some pea-soup greens.

8 months later, thanks to a lot of quilting time at the BAM retreat (omg it was awesome!!) a few weeks ago, it's finally done:


I quilted diagonal lines and around the rings. Thanks to Anne @ playcrafts for the tip on photographing in direct sunlight to show quilting better:


 Binding and backing both from Bella by Lotta Jansdotter - one of my favorite lines.  This quilt is a lap quilt for meeeee and you can find it on my couch - ready for snuggling.


 p.s. machine binding... sewn first to the back, then wrapped around to the front.  I prefer that whenever I don't think the extra stitching line will blend with the quilting or the front piecing.

I am happily linking up for for the second week in a row to the crazy mom quilts finish it up Friday.

Friday, May 31, 2013

R-burst Quiltalong: Finished quilt

My R-burst quilt is done! This is a "family quilt" - meaning that members of my family contributed pieces that were incorporated into the final quilt. Each of my sisters did small embroidery squares that are sprinkled throughout the quilt. It's headed to my 3-year old niece for her big girl bed. This is the third family quilt that I've made, each for one of my nieces. You can see the other two here and here.
 

This quilt was designed by me and the instructions are available for free here (scroll to the bottom for links to the assembly steps)
 

The back is the last big piece of an Ikea duvet cover that I bought in the children's section.  It made backs for two baby quilts and this twin used up some of the last of it.  So easy (no piecing) and economical ($40 total compared to $60 to do the same thing with yardage).  The binding is medium navy chevron from Riley Blake, cut extra skinny (1 7/8").  I love the binding.  Love love love.


But my favorite part is the embroidery squares hidden around the quilt.  I am smitten with the idea of my niece sitting on her bed and looking for all of her favorite ones. There are 35 of them to share, so that's for yet another post, sorry guys! 

This is the first of two quilts that I finished at the BAM quilting retreat earlier this month.  Soo much fun hanging out with everyone and so proud of what I got done while I was there.  It has been a long ride with this quilt (a little over a year ago I was trading scraps to get ready for it) and I am excited to send it along to my niece, who has been waiting patiently the whole time.

I'm celebrating this finish by linking up today to crazy mom quilts' finish it up Friday. Wahoo!

Thursday, May 30, 2013

R-burst quiltalong: The end!


This post is a part of the R-Burst Quiltalong.

Finishing time!  I chose to quilt my top with a 2" grid that passes through the center of each small square.  If you want to do the same, place your basting pins in the center of every other small square. 


That makes it easy to quilt and avoid pins.  First make a pass over the whole quilt in the vertical direction, quilting the line of squares that doesn't have any pins.


With half the vertical lines done, the quilt is held together plenty well and all of the pins can be removed. I recommend quilting all of the horizontal lines next, then going back to quilt the rest of the vertical lines. 

I like a couple of different binding methods, and I chose between them according to the quilt and how it will be used.  On quilts that are in for a lot of use and washing, I feel most comfortable doing a machine binding - especially if I am giving them away to someone who is not going to know how to repair the binding if hand stitching starts to come apart.

This is my favorite machine binding method.

The only thing I would add to that tutorial is to iron!  First iron the binding up off the edge of your quilt, then fold it over and iron again from the other side to keep it folded down.  It really helps when you get to sewing so that your binding and stitch line don't wander all over the place. 

I took tons of pictures of the finished quilt, but I am still going through those so you will have to wait until tomorrow to see it.  Sorry guys!